Highly Reliable Guide In Trimming Your Candle Wick
If you’ve been fighting and blowing out your candles without conducting any sort of maintenance, you’ve been doing yourself and your scented soy candles a disservice. If you just take a few basic precautions, like trimming the wicks and protecting the wax from dust, your candle will burn longer and more evenly.
Discover the advantages of wick trimming and learn six more candle-care tips. Larger flames produced by longer wicks melt more wax and provide the candle with more fuel. Because there is more fuel present, there could be incomplete combustion, increasing soot production and resulting in a dirty, dark container for your candle.

Why Trimming the Candle Wick Beneficial?
It would appear that trimming the wick of a candle wouldn’t much affect how much you used the candle. The wick doesn’t necessarily need to be trimmed; your candle will continue to burn without it. Although this is technically accurate, the straightforward process of trimming the wick can extend the life of your candle by up to 25% while also maintaining its lovely beauty.
Larger flames produced by longer wicks melt more wax and provide the candle with more fuel. Because there is more fuel present, there could be incomplete combustion, increasing soot production and resulting in a dirty, dark container for your candle.
Long wicks have a propensity to gently curve at the top as they burn, giving them an uneven shape and making them waver, which makes soot formation more difficult.
By keeping the wick trimmed, you can control how much-melted wax the candle has access to, which lowers the quantity of soot it emits. Additionally, a more equal burn is made possible by the cut wick, resulting in less soot creation and longer candle life. Reusing the candle jar after the candle has burned out is also made easier by reducing soot.
After each four-hour candle burn, put out the flame and let the candle cool to room temperature. Usually, it takes two hours for larger candles to burn out.
Numerous Candle Care Tips
You can do more than just trim the wick to take care of your candle and increase its lifespan. If you adhere to the following advice, your soy or coconut wax candle will look just as nice as the day you bought it:
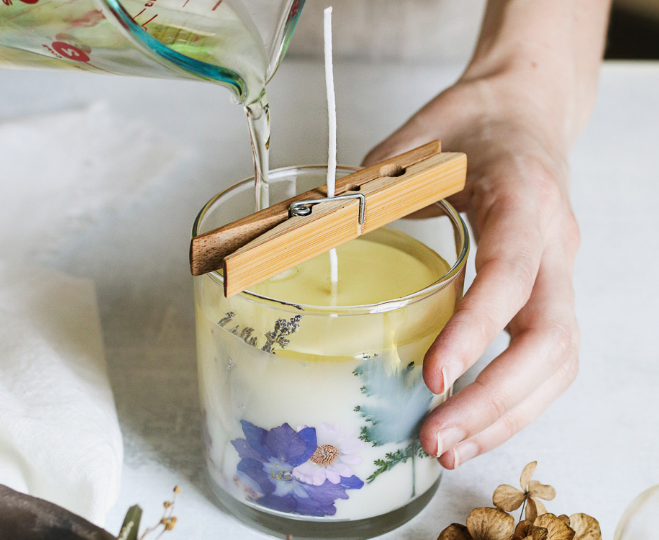
• The first time, do let the candle burn for around two hours. You can be certain that by doing this, the entire initial layer of wax will melt and then solidify again. If the candle is not burned for long enough, only the area immediately around the wick will melt. This could lead to tunneling, in which just the candle’s center burns down and the hard wax surrounding it is left.
• Keep drafts away from the candle. Unexpected breezes cause the candle to burn unevenly and may even completely put out the light. Avoid air conditioners, fans, open windows, vents, and any other area where a flame can be exposed.
• I don’t understand why you wouldn’t; dirt and other debris will accumulate on the top. Put it in a covered cabinet or, if there is one, replace the lid to keep the top clear. If there is any dust on it, carefully wipe it off with a damp cotton pad before lighting it once more.
• Don’t let soot stains accumulate on the glass because doing so will make them ultimately far more challenging to remove. Put a little amount of soap on a damp cotton pad, and then rub the pad over the soot streaks to eliminate them. Let the glass thoroughly dry before lighting the candle once more.
Additional Candle Lighting Tips
• Many candle manufacturers suggest burning candles for no longer than four hours at a time.
• Extinguish the candle when there are no more than two inches of wax remaining. The National Candle Association states that this regulation applies to tapers, pillars, and big glass jar candles.
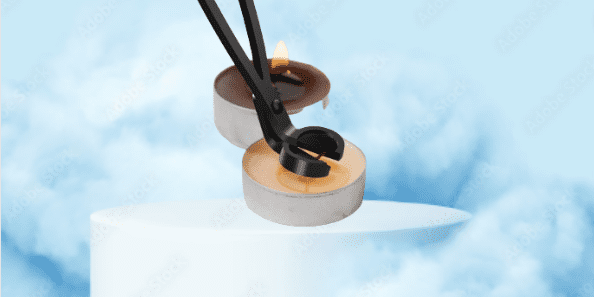
• Little tea lights can only last four to six hours.
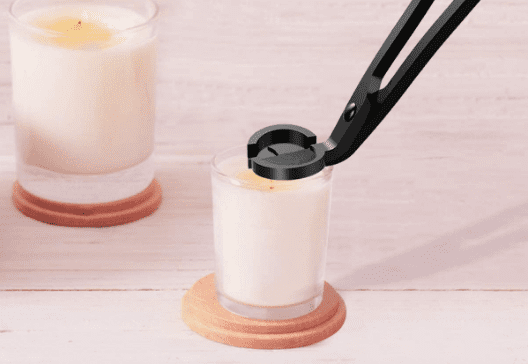
• Many candle manufacturers suggest snuffing out flames with a snuffer or dipping the wick into the wax pool because blowing out a candle can result in an excessive amount of smoke.
• Of course, when not in use, keep candles in your line of sight.
• Candle wax may break if frozen, therefore avoid doing so. Candles need to be kept at a moderately cool temperature.
Taking Care of a Too-Short Wick
If the wick has been too short to light, you can expose more of it by slowly pouring out the molten wax after first using a wand lighter to melt the wax around it. Alternately, use a butter knife to delicately remove the wax covering the wick.
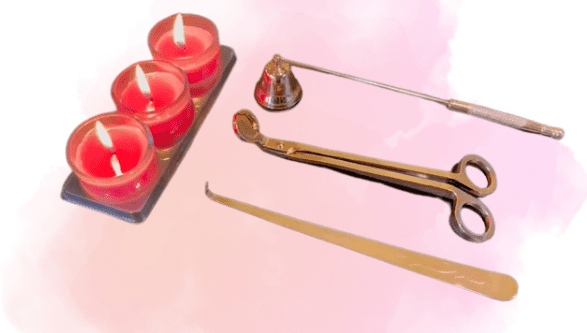
How to Trim a Wick for a Candle
Any wick may be trimmed with a basic pair of scissors, even those on candles that are enclosed in containers like votives or glass jars. But after a few uses, getting to the wick could be challenging. One method is to use toenail cutters to get at the wick. A pair of wick trimmers designed especially for wicks that are challenging to reach can also be used.

Conclusion
It is necessary to regularly trim the wick, ideally after each candle use. For this, you can use your fingers, a wick trimmer, scissors, or a toenail cutter. As the candle melts, a good wick trimmer will become more and more important.
But you may begin by using scissors. To ensure that the candles burn consistently and beautifully, the wick needs to be cut back by one-fourth inch. To increase the lifespan of candles, never leave them burning for longer than four hours at a time.