How To Make a Homemade Scented Candle (7 Steps)?
Scented Candles are one of the oldest forms of lighting, dating back to ancient times. They’re not just for decoration anymore; candles can also be used for aromatherapy and scented like so many other things in our homes. If you’ve ever wanted to make your scented candle at home but didn’t know where to start, here’s everything you need:
Step 1. Gather your materials.
| Ingredients | Equipment |
| Soy Wax Flakes | Candle Jars (glass or metal) |
| Candle Wick (refer to candle wick info) | Candle Mold (metal, plastic, or silicone) |
| Candle Dye | Double Boiler/Bain Marie |
| Essential Oil or Fragrance Oil | Thermometer & Glue Gun (optional) |
| Wick Holder or pencil (optional) | |
| Candle Mold Sealer (optional) | |
| A skewer or bamboo stick |
The first step to making a homemade scented candle is to gather your materials. You will need:
A jar or container with a lid that can be closed tightly.
Candle wax. Be sure it doesn’t contain any scent, color, or dye. If it does, be sure to find an alternative.
Wicks. The wicks should be made from cotton and have a diameter of 1/4 inch (6 mm). They should also be cut in half to fit into the jar.
Fragrance oil or essential oils. These are sold in bottles that resemble perfume bottles and come in various sizes and shapes. Each bottle contains about 30 drops of liquid oil, so you may need more than one bottle for your project depending on the size and style of candle you plan on making.
Beeswax pellets or cubes (optional). If you choose to use beeswax, place it inside the jar after removing the lid from your other ingredients.
Step 2. Get some wicks.
Wicks are the essential elements of a candle, and you can choose from a variety of sizes. The wick size you choose will depend on your preference: some people like their candles to stay cooler, while others prefer them to get hotter as they burn down.
You should also consider the type of wax that you’re using for your homemade scented wax melts. Wax will melt at different temperatures depending on its chemistry (how much oil it contains), so if you want your candle to smell nice but not burn too hot, then use paraffin or soybean waxes instead of coconut or palm oil-based ones like those found in most store-bought candles.
Step 3. Melt the wax.
Now you’re ready to melt the wax. Start by adding a few drops of water to your double boiler. The pot should be at least 2 inches deeper than the bowl, and it should sit on top of an uncovered heat source such as a small stovetop burner or electric hot plate.
Next, add the wax to your pot and turn on the heat to medium-high until it melts completely (this can take anywhere from 20 minutes for paraffin to 30 minutes for beeswax). Once melted, remove it from heat immediately so that it doesn’t catch fire!
Step 4. Add your fragrance oil (or essential oils) to the melted wax.
To add your fragrance oil (or essential oils), you’ll want to mix the melted wax with a ratio of 1 part fragrance oil to 4 parts wax. For stronger scents, use 1 part fragrance oil for every 8 parts of wax. For very strong scents, use 1 part for every 16 parts of melted wax.
Once you’ve mixed everything in one bowl or container, pour it into an empty candle mold and allow it to cool before removing it from its mold and attaching your favorite decorative lid or label on top!
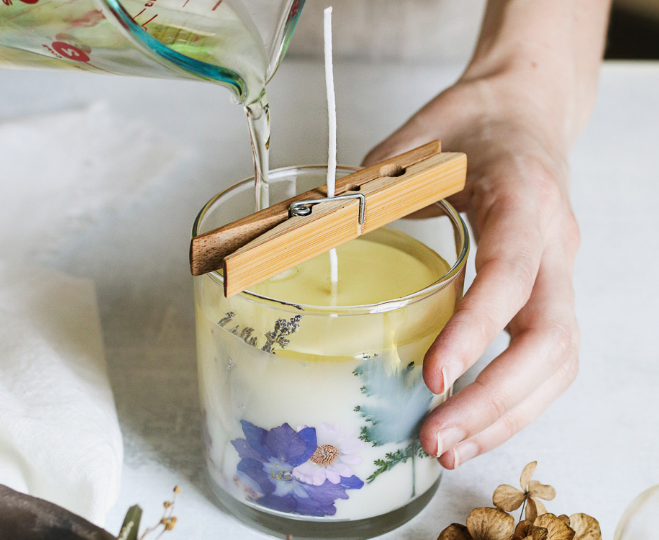
Step 5. Pour the wax into a container of your choice.
The next step is to pour the wax into a container of your choice. You can use a heat-proof glass or ceramic container, or even one made of metal if you prefer. Make sure it is the right size for the amount of wax you are using and not too big or small. Using a pouring pot helps keep things clean and neat, but it also makes it easier to pour out when done!
Step 6. Allow the candle to dry overnight and trim the wick if needed to make it shorter.
The next day, allow the candle to dry overnight. If you wish to trim the wick, later on, do so now.
Step 7. Enjoy your homemade scented candle!
Now that you’ve made your homemade scented candle, it’s time to enjoy it!
Lighting the candle is easy. Simply hold it over an open flame for about 20 seconds until the wax melts and begins to drip. If you’re feeling creative, add some glitter or give your candle a sparkly finish by dipping it into melted white glue before lighting up!
Your homemade scented candle should burn for about 40 – 60 minutes, depending on how much wax was used (more = faster burning). Once it has burned out, dispose of the remains in an environmentally friendly way—or save them as decoration if they aren’t yet gone!
Things To Consider When Making a Homemade Scented Candle
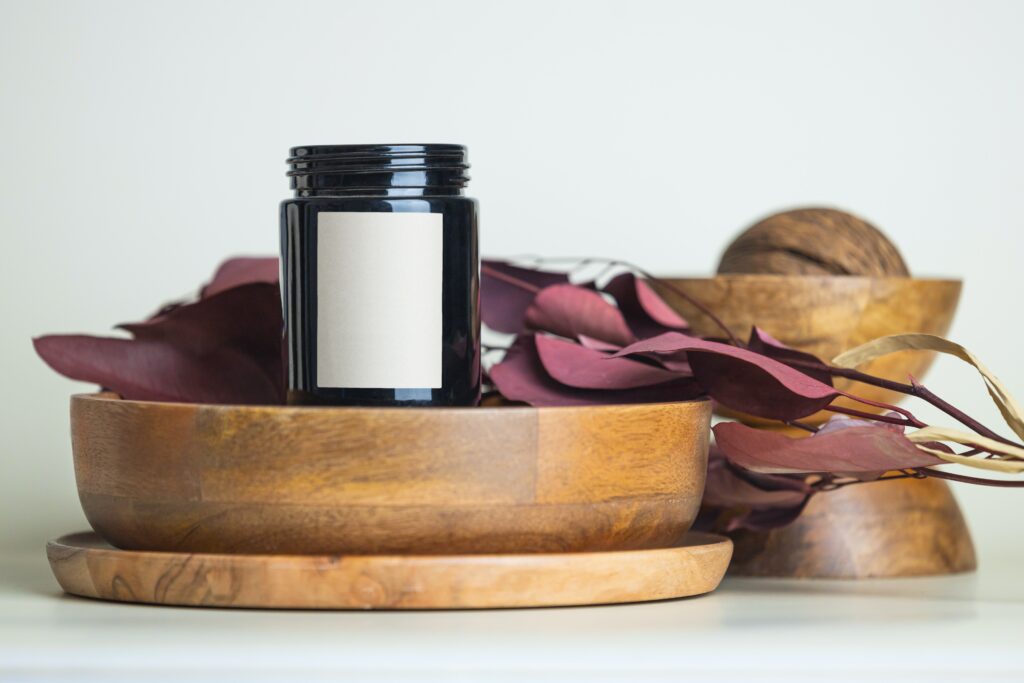
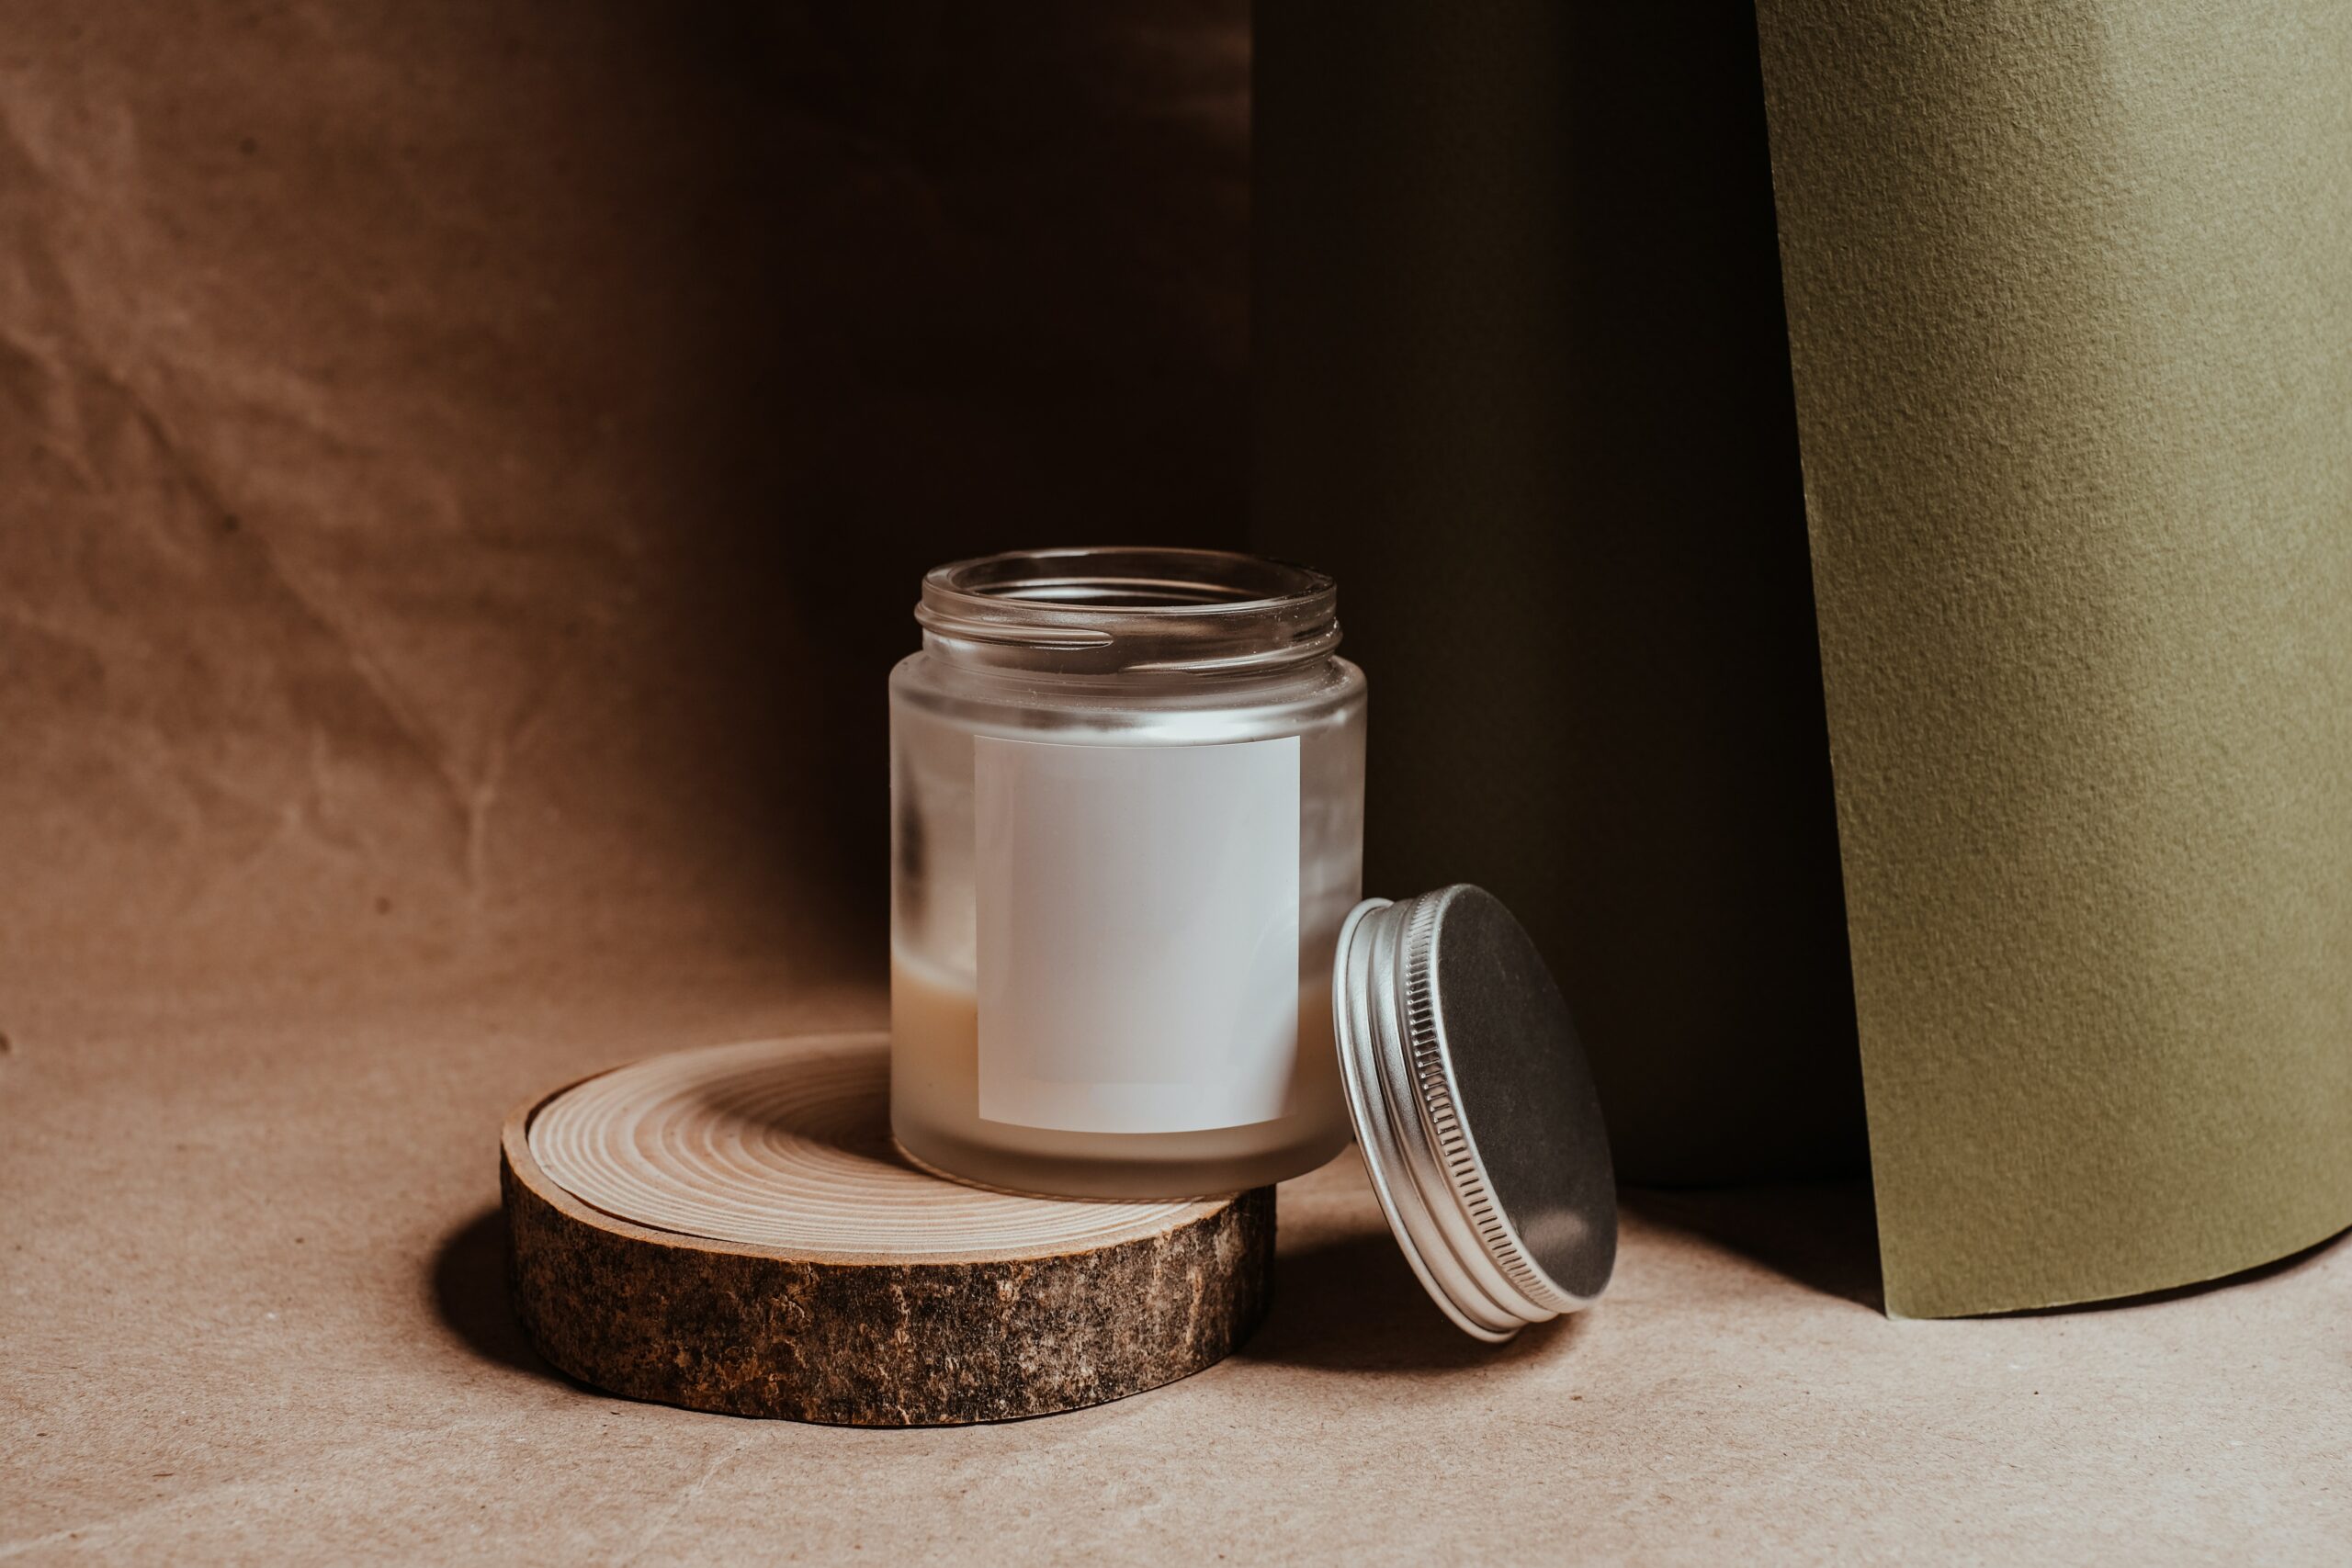
Containers
Containers are a key component in the making of homemade candles. There are three main types of containers: glass, plastic, and ceramic. All three can be used to make your scented candles but they each have their advantages and disadvantages.
Glass containers are ideal for homemade candles because they’re clear so you can see through them easily when looking into them, which makes it easier to judge the amount of wax left at the bottom after pouring out all your hot melted wax onto it (if there is any).
Glass also conducts heat well so if you put your candle inside one during summer then it will stay warm longer than other containers would allow for because no air between them might get cold over time due to lack of insulation like in other materials such as plastic ones do not provide either!
Wax Type
Wax type is one of the most important things to consider when making a homemade scented candle. The type of wax you choose will determine whether your candle burns well, has a good scent throw and appearance, and how long it lasts before burning out.
Waxes come in many different forms, so it’s important to understand which ones are best suited for use in candles. There are several types of “waxes” available on the market today—some are made from paraffin waxes while others contain vegetable oils or other derivatives such as beeswax (the main ingredient in most candles).
Some people prefer using soybean oil because it gives off less smoke than other types.
However, soybean oil tends not to have enough fragrance retention when used alone without any additives like essential oils or fragrances added later on during production which would make them too strong over time due to the strong aroma released upon opening the container lid where air circulation happens constantly.
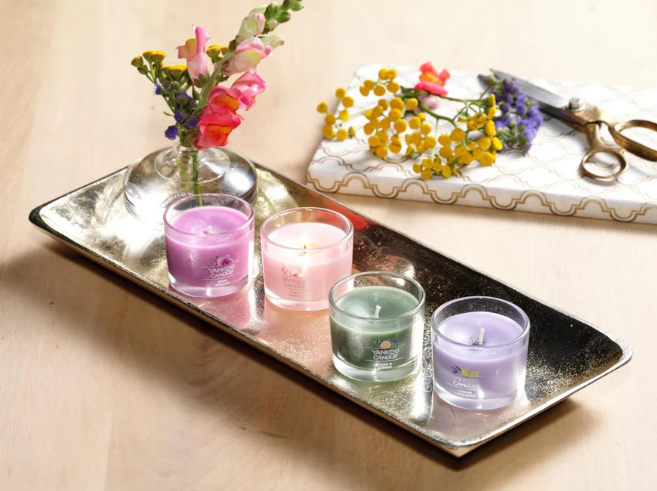
Candle Color
The color of your candle is an important factor in determining how it will smell. The color you choose can create a mood, and this is why many people opt for white candles as they are more neutral than other colors. If you have a small family room or dining room, white candles may not be ideal because they will make the area feel colder in tone than it already does.
The right color also affects how other people perceive you visually; bright red flames can make anyone look like they’re excited about something when all they want to do is eat ice cream sandwiches (or whatever). This can cause confusion among family members who don’t know where one person ends and another begins—no matter what time of day or night it happens!
Scent
- Consider the scent of your candle. The choice of scent can be a very personal one, and it’s important that you choose something that fits your personality and style.
- Consider the scent of the wax. If you’re using paraffin or soy wax, there is no need for fragrance oils—the natural oils in these types of candles will give them their distinct smell. But if you’re using molds or other types of soaps made from natural ingredients (such as beeswax) then adding essential oils will help bring out those scents!
- You might want to keep this in mind when considering whether or not to go with an all-natural option like beeswax; some people prefer their candles to smell clean while others prefer them to smell fruity or sweetly floral (like lilacs).
- Consider the scent of wick material and container design.
- Some people like their scented candles to burn slower than others do; if this is true for yourself then maybe use some kindling paper under each wick before lighting them up. Or perhaps even burners? Either way, make sure everything looks nice beforehand so there aren’t any unpleasant surprises later down the road when trying.
Conclusion
We hope you enjoyed learning about the steps to making your scented candles. You can create almost any scent you want and customize it to fit your home or taste. If you have any questions or suggestions, please leave them in the comments below!
FULL & easy beginners guide to Candle Making